
How to Update a Small Bathroom
Today I'm going to share with you how to create a design plan for updating your small bathroom. Updating any part of your home can feel overwhelming, especially if you have no idea where to start or what you even want the end results to look like. You also may be thinking this bathroom is so small or so outdated what can possibly be done in here. Trust me a beautiful update is more than likely in reach. It does however require some planning.
A common misconception is that just because a bathroom is small it doesn’t require planning. This is simply not true. Big or small planning your design is important.
I remember one of my clients was so frustrated with her small bathroom. It was the primary bathroom and the one for guests. She didn’t know what to do with it. She just knew it needed a serious change and she needed help. My client wanted her bathroom to flow with the rest of her home. She no longer wanted to feel embarrassed when guests asked to use the restroom.
Like I helped her design her bathroom I'm going to help you accomplish the look of your desire for your own bathroom. I’m going to show you my method I use with my clients and for myself
So let’s start
Do you know how you want your bathroom to look? It seems like a simple question but for many it’s complicated to translate the ideas or feelings from your head to reality. So it helps to simplify the answer. What is the vibe or feeling you want this space to have? The functional requirements needed. The functional needs will be dependent on the usage. The need for a master bath is different than one for kids or one for guests. For a guest bathroom think of who your guests are and their personality.
What would be beneficial features for them? Do you have family or friends that come to your home for long visits or short casual visits for a few hours? Do you have random pop-up visitors? Each scenario may require a different function for your guest bathroom.
Long-staying guests may need extra towels or toiletries. It’s nice to have those items accessible, so they don’t have to ask you. Creating space for extra storage for these items will enhance the functionality of the space. You also may have guests who only visit for a short period of time. In this case, you really don't need the same extra storage for towels and toiletries. The space could be used for more accessories and décor.
Vibe: a feeling that someone or something gives you.
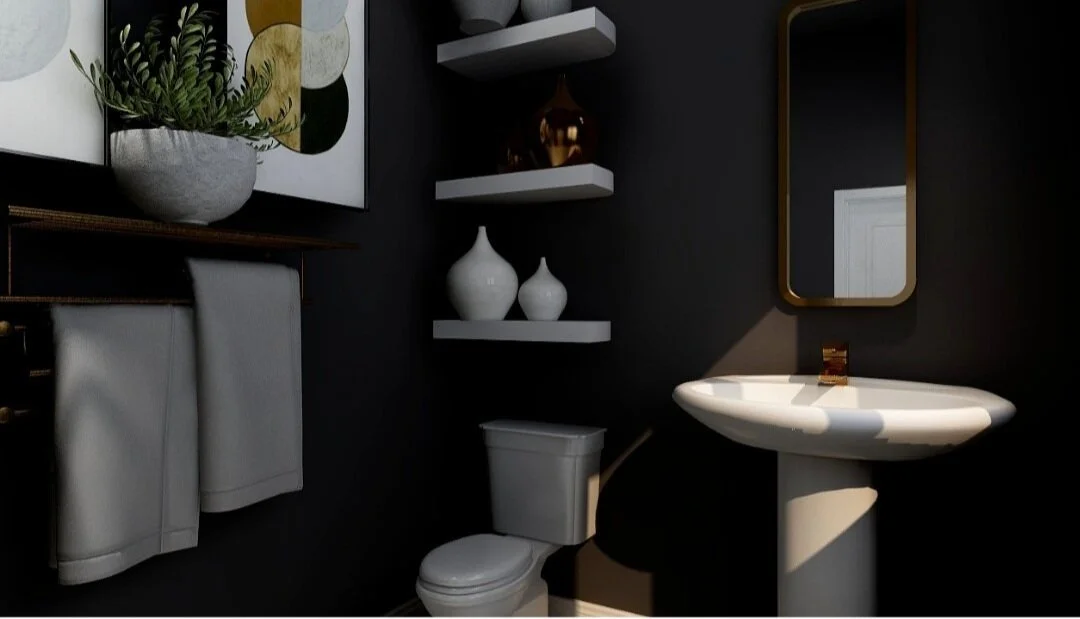
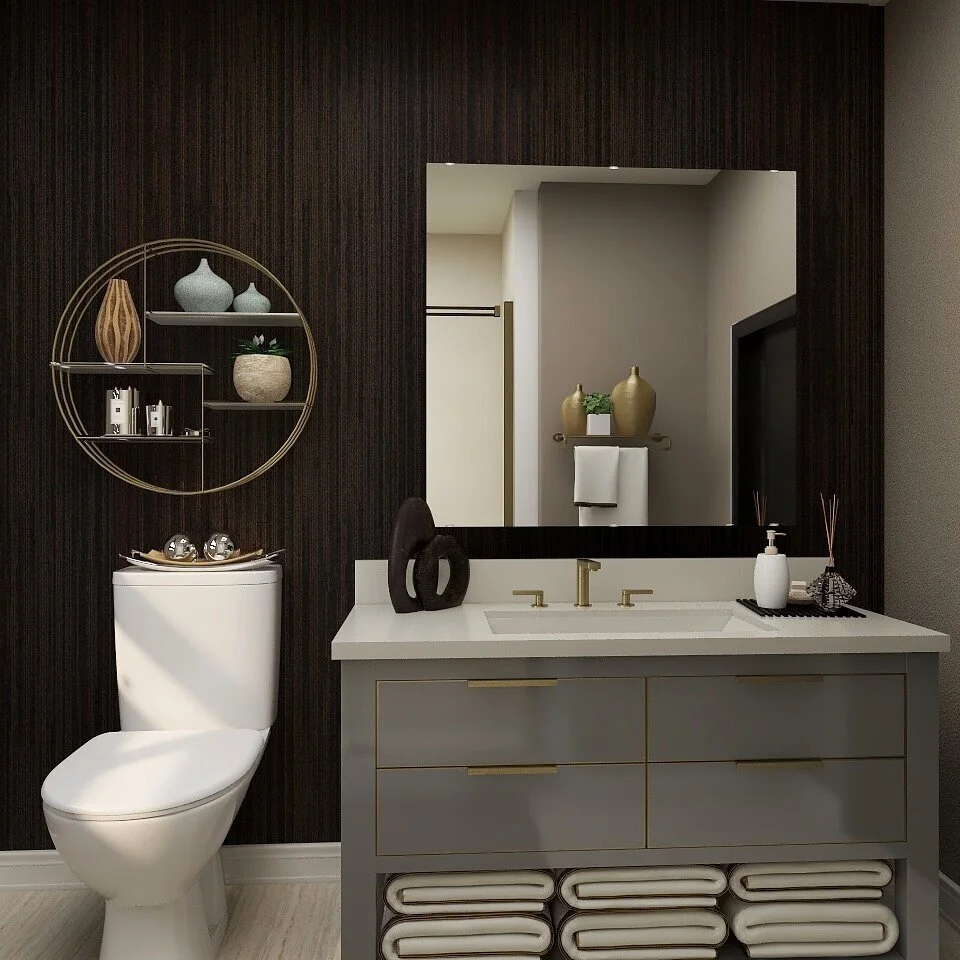
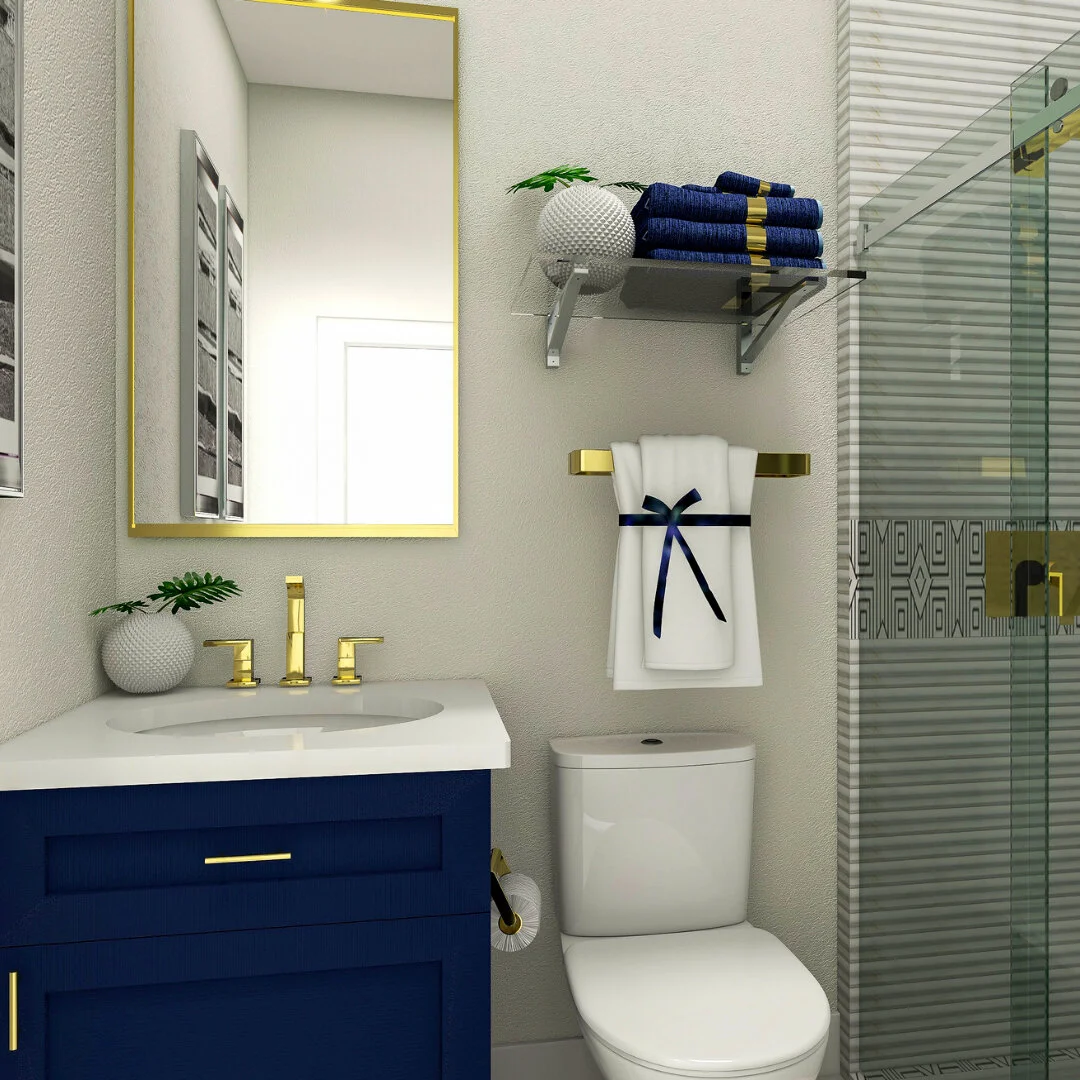
The Vibe! Now that we understand how this bathroom will function and who it will serve, let's talk about the vibe you want your guests to feel. Relaxed & whimsical, cool & casual, serene & spa-like, dramatic & moody, the list goes on and on. There is no right or wrong vibe.
Now let’s think about the style: style is comprised of distinctive furniture, décor, lighting, and accessories that give it’s signature look.
There are many design styles that can be used in a bathroom. Design styles and vibe can be mixed together, for example, luxury- bohemian vibe, minimalistic -calm vibe, mid-century modern with an array vibe. So let’s say you like a luxurious bathroom with a bohemian vibe, research this on Pinterest and Google for bathroom inspiration. You can also find inspiration in home décor books from Amazon or Barnes & Noble's.
Search for inspiration in the style and vibe you like. After you find at least 7 to 10 photos go through and select only five of the photos you absolutely love. Do not include the ones you kind of like. Only those absolutely love. Write down what it is you like about each of them, what you don't like or what you would change. More than likely you will find a commonality amongst them. Maybe they all have bold color. They all may have a neutral palette. Maybe they all have muted color accent walls. Take note of the common theme. Now of those five images pick two that you absolutely love. Now I want you pick the one out of the two that you love the most. If you don't end up with an image you truly love just go back to the drawing board. Take into account why those images didn’t work and what changes your looking for.
Assuming you love the inspiration image you picked, study the photo and write down exactly what you like about it.
Creating your own styles from inspirations
So next we will create a color scheme now that you know the vibe and style that you want for your guest bathroom. You have a clearer understanding of you what you like and do not like let's start putting things together. Your color palette can be created from the image selected or a close match. Perhaps in the inspirational photo the walls are white, but you would like a more soft cream white. This would be similar not you exact. Your color palette includes more than just paint. The color palette consist of everything that has color like your cabinets, knobs, fixtures, toilet, sinks, towels, and accessory. One easy way to design with a color palette is the 60-30-10 rule. This rule is simply 60% dominant color 30% as a secondary color and 10% is the accent color. When doing your color palette think about how each color and the texture might be used.
The Layout! So now we have the color palette let's plan the space. If this is just an update and restyling, you would be planning the layout for storage and accessories. If you are remodeling your bathroom then you will need to plan new layout for the entire bathroom. One thing to keep in mind is if you will be adding or relocating windows this will effect how or lack of natural light comes into the space. Lighting coming into a room effects how color is seen. When planning your layout think about the function of the spaces mentioned or who will be using the space. How you want the layout to flow. Don’t skimp on function. Planning the function of your space before designing is the particle way to do things. A beautiful dysfunctional space is a waste of space.
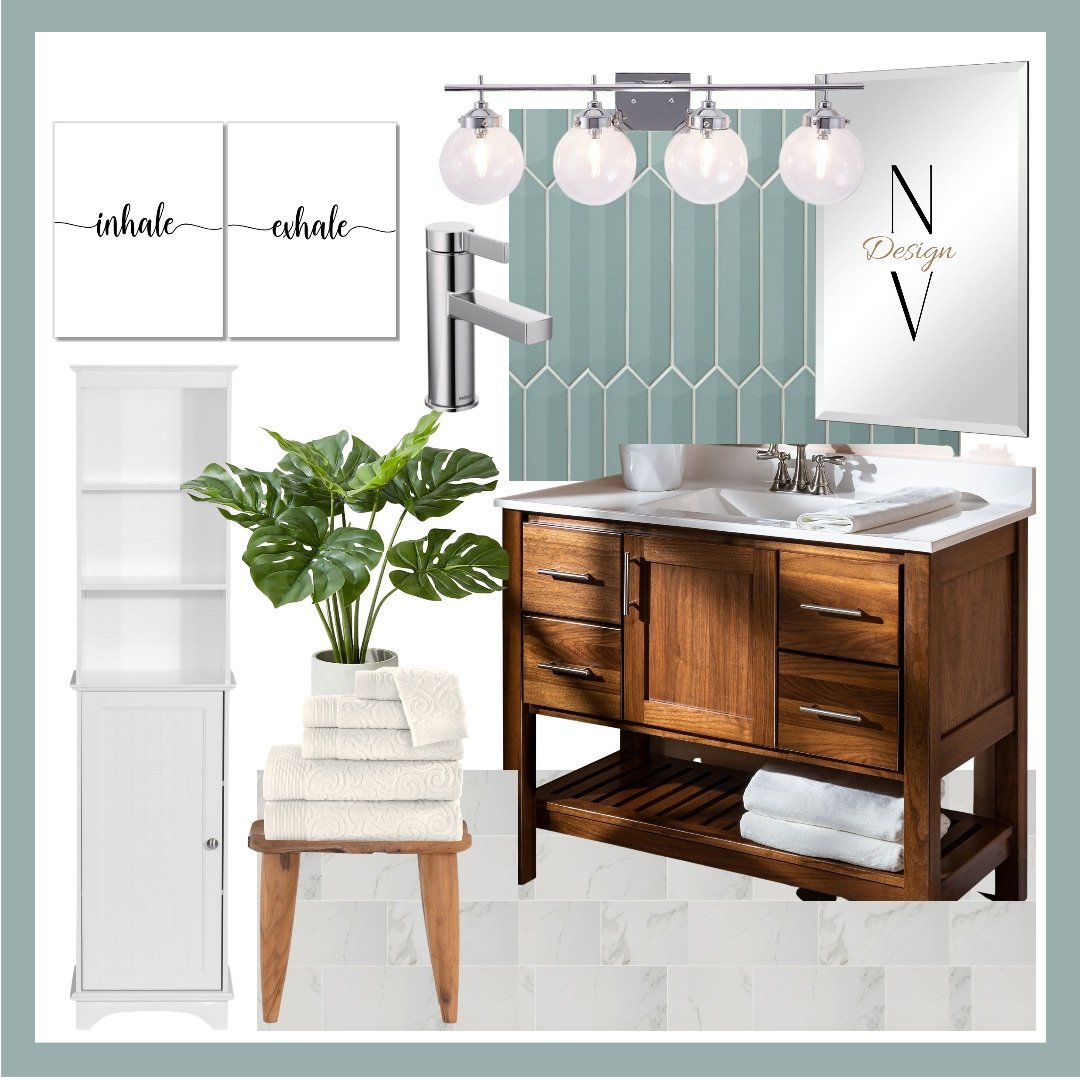
Design your bathroom virtually Create a concept board what is a concept for the concept board your plan of your space you know you now know the mood five inspiration of a color palette and function let's start pulling it together there are apps like Morpholio our camper where you can create a class support this is the time where you were going to look for the right products and décor with this image we know we want a green paint color so the one option I recommend if the image does not give a paint color’s details to find a color picker tool or app. You basically save the image on your phone or PC upload it onto the website or app of the color paper tool and get the hex code. Go onto Canva and select an element. I like to use a square, fill the square with a the color change option by adding the new color in the hex code. What's the point of doing all this? Well now you have the color in your concept board and now can see how other items will look next to it. You can also have this color, color matched. I recommend doing an actual paint sample. I don’t recommend painting samples on the wall, but on sample boards in the space. I suggest doing this last. Color is based on the context of the space. What I mean by that, is if you paint the walls green and your cabinet floors and shower are currently white or a lighter color the green on the wall will appear bolder because of the contrast. You may love that green now, but when you change out the cabinets lets say your inspiration is a medium wood color with a darker floor and darker or patterned tile and darker hue shower curtains this will change how the green walls will look because the context has changed. The wall color will not have such a bold contrast. I recommend painting last once your permanent fixtures are selected and in place, but still select your potential paint color.
Next select your fixtures. Find the fixtures you like and want in your bathroom that flow with the design. Add them to your concept board along with paint, cabinet, mirrors, shower doors or shower curtains, artwork lighting and all the accessories.
Play around with items if you don't love how they look when placed on your board together. Once you finalized your items create a shopping list
Spending more time prepping and planning your space, you will spend less time creating mistakes. I strongly believe in sticking to the plan of a design. Stick to the shopping list as best as possible. Yes, it's likely an item may be out of stock or sold out this is where you go back to the plan and find similar items. This is not a time to wing it and get something totally out of the scope of the design. Everything looks beautiful in the store and on display, that's the job of the store to make everything look beautiful. This it does not mean it will look good in your bathroom, but no need to focus on it on if it looks good in the story you have your list your plan and you know what you want and what to buy this is making the best use of your money and time.
Execution this is the time to execute the design you have a floor plan and your notes and you have all the items. Next it's time to just put everything in its place. I recommend pulling everything together, arranging it how you like. Then leave it alone. Come back after a day or so make any adjustments you feel necessary. Add or take away items that work or don't work for you.
Once you have tweak the space to your liking take a step back and give yourself a round of applause you just updated your bathroom to one you love and your guests will surely love as well. Congrats you did it!
Make sure to get on my email list to know when new blog posts are released
Pin this post for later
Share with someone you know that could use help with designing their bathroom.
Chat with you soon!